python實(shí)現(xiàn)人像動(dòng)漫化的示例代碼
利用百度api實(shí)現(xiàn)人像動(dòng)漫化

百度API地址:https://ai.baidu.com/tech/imageprocess/selfie_anime
技術(shù)文檔:https://ai.baidu.com/ai-doc/IMAGEPROCESS/Mk4i6olx5
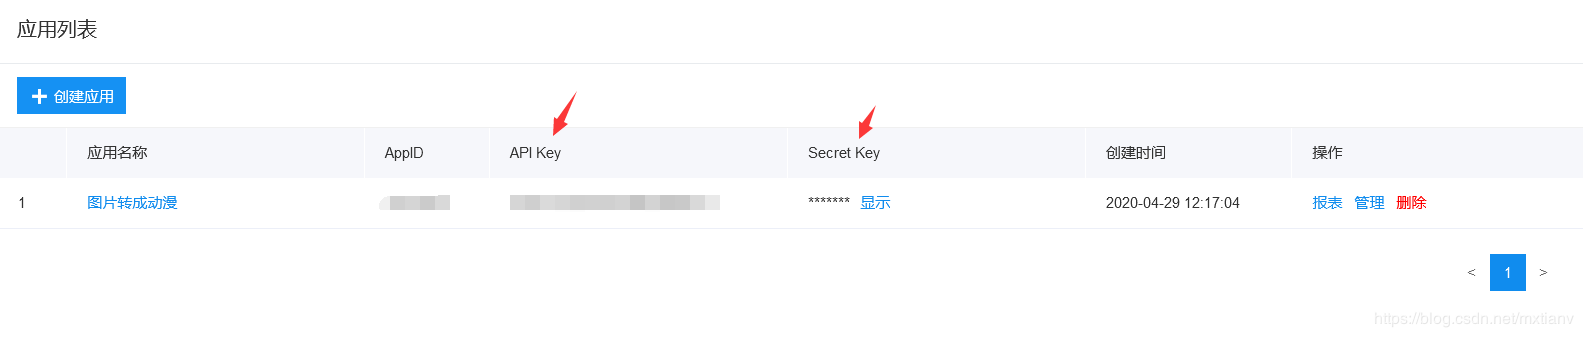
注冊百度賬號(hào),開通實(shí)現(xiàn)人像動(dòng)漫化,創(chuàng)建應(yīng)用。
# encoding:utf-8 import requestsimport base64 # client_id 為官網(wǎng)獲取的AK, client_secret 為官網(wǎng)獲取的SKhost = ’https://aip.baidubce.com/oauth/2.0/token?grant_type=client_credentials&client_id=【官網(wǎng)獲取的AK】&client_secret=【官網(wǎng)獲取的SK】’response = requests.get(host)if response: access_token= response.json()['access_token']
將上面的【官網(wǎng)獲取的AK】【官網(wǎng)獲取的SK】’ 替換成自己的API Key 和 Secret Key
’’’人像動(dòng)漫化’’’request_url = 'https://aip.baidubce.com/rest/2.0/image-process/v1/selfie_anime'# 二進(jìn)制方式打開需要處理圖片文件f = open(’001.jpg’, ’rb’) # 打開需要處理的圖片img = base64.b64encode(f.read()) params = {'image':img}request_url = request_url + '?access_token=' + access_tokenheaders = {’content-type’: ’application/x-www-form-urlencoded’}response = requests.post(request_url, data=params, headers=headers)print(response)if response: # 保存文件 f = open(’t.jpg’, ’wb’) img = (response.json()[’image’]) f.write(base64.b64decode(img)) f.close()
到此這篇關(guān)于python實(shí)現(xiàn)人像動(dòng)漫化的示例代碼的文章就介紹到這了,更多相關(guān)python 人像動(dòng)漫化內(nèi)容請搜索好吧啦網(wǎng)以前的文章或繼續(xù)瀏覽下面的相關(guān)文章希望大家以后多多支持好吧啦網(wǎng)!
相關(guān)文章:
1. IntelliJ IDEA安裝插件的方法步驟2. idea導(dǎo)入maven項(xiàng)目的方法3. Docker 部署 Prometheus的安裝詳細(xì)教程4. IntelliJ IDEA設(shè)置自動(dòng)提示功能快捷鍵的方法5. 通過Django Admin+HttpRunner1.5.6實(shí)現(xiàn)簡易接口測試平臺(tái)6. idea重置默認(rèn)配置的方法步驟7. IntelliJ IDEA調(diào)整字體大小的方法8. idea設(shè)置代碼格式化的方法步驟9. idea給項(xiàng)目打war包的方法步驟10. IntelliJ IDEA設(shè)置背景圖片的方法步驟
 網(wǎng)公網(wǎng)安備